English
 русский
 Deutsch
Industry News
How to Replace a Fridge Compressor Valve Without Damage?
 By Admin
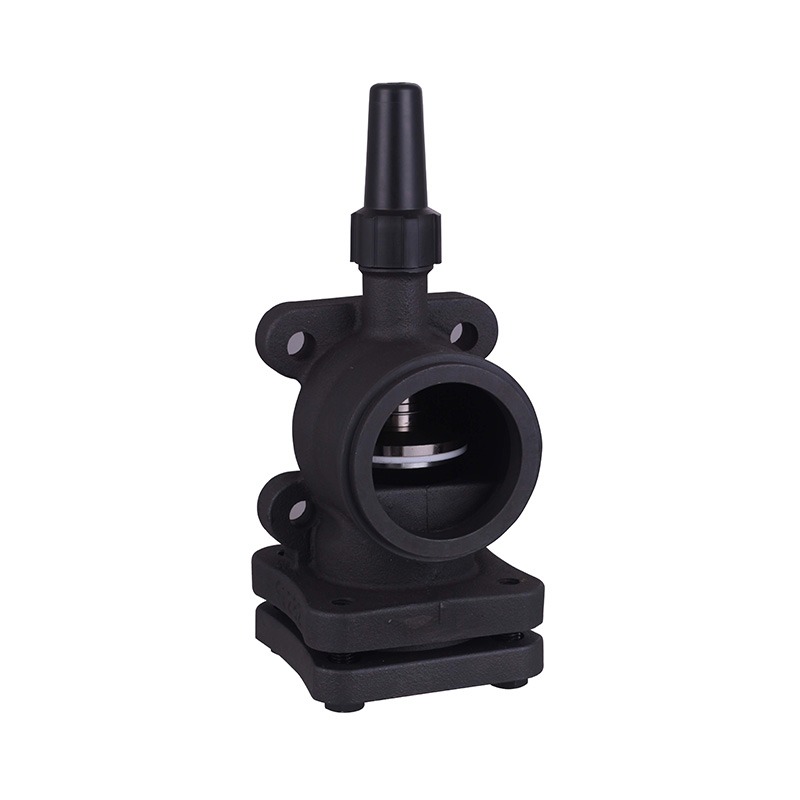
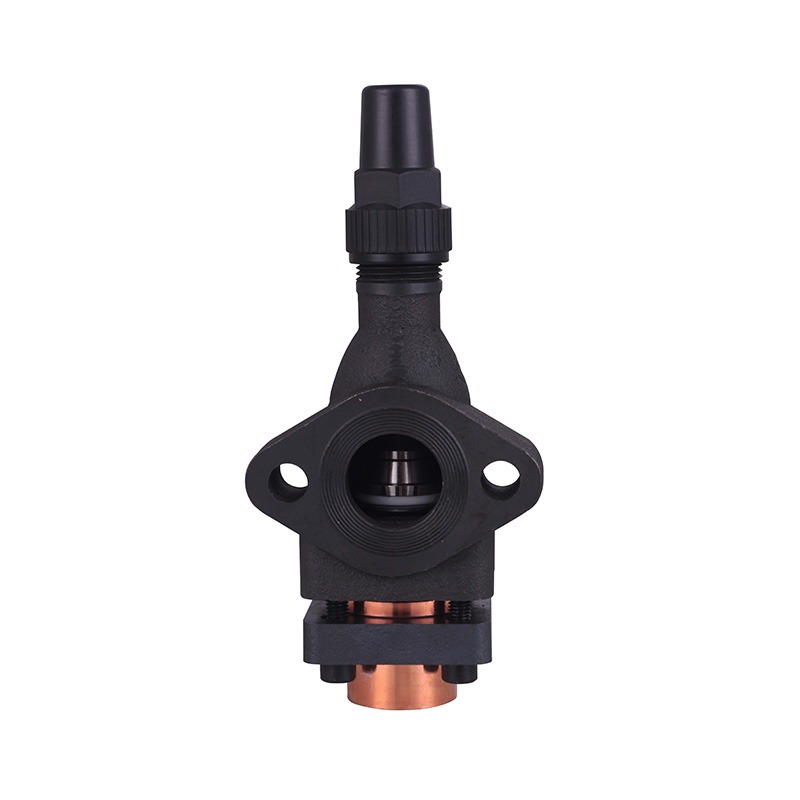
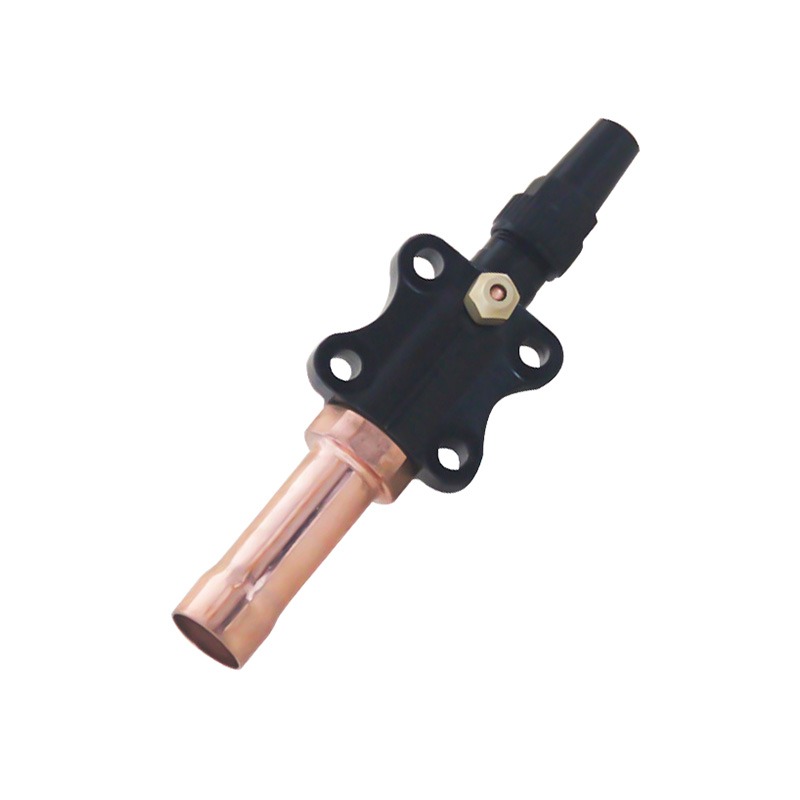
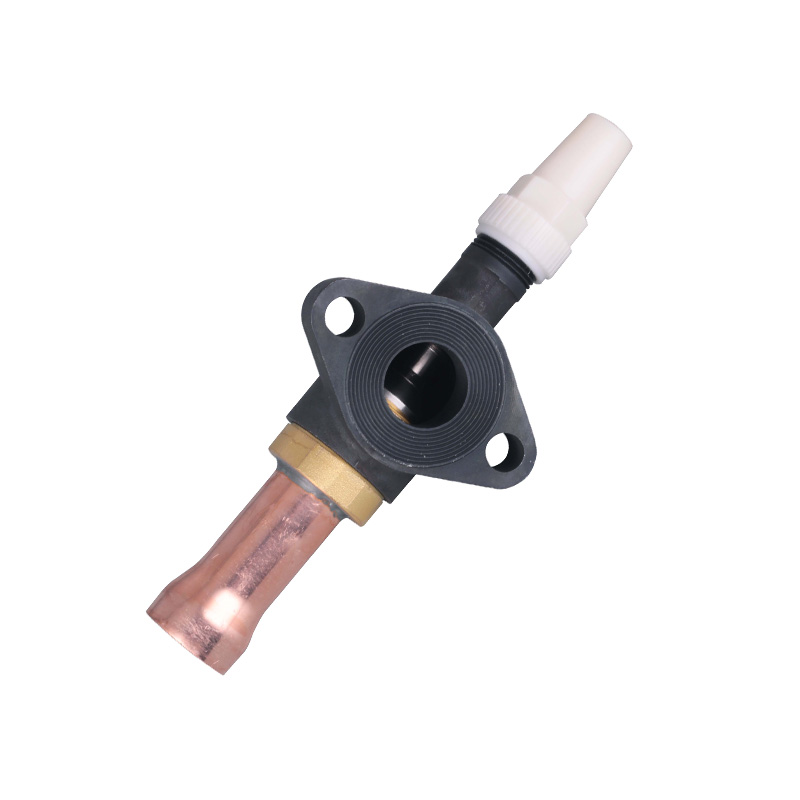
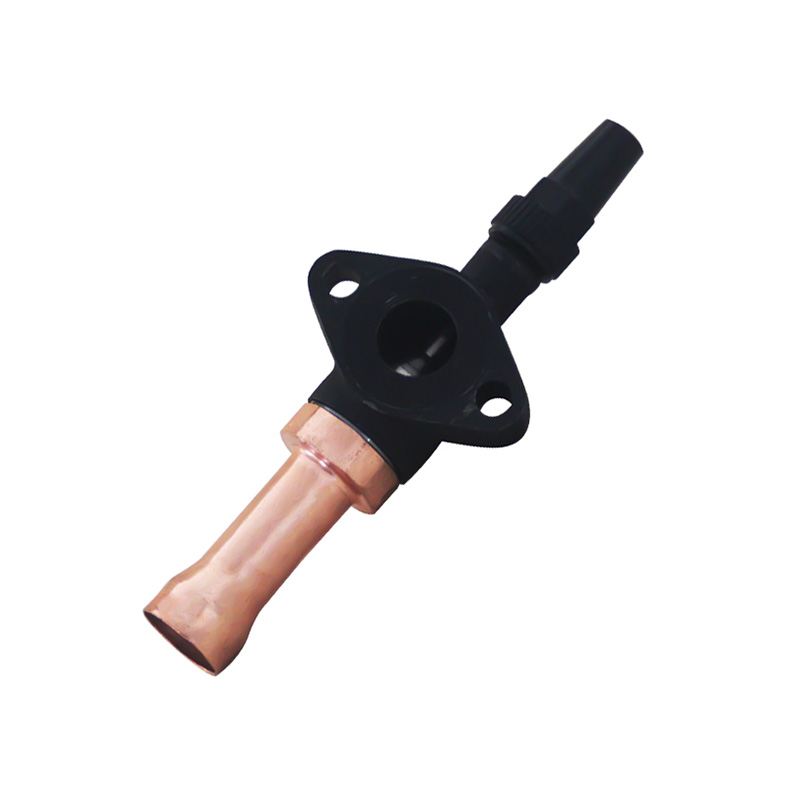
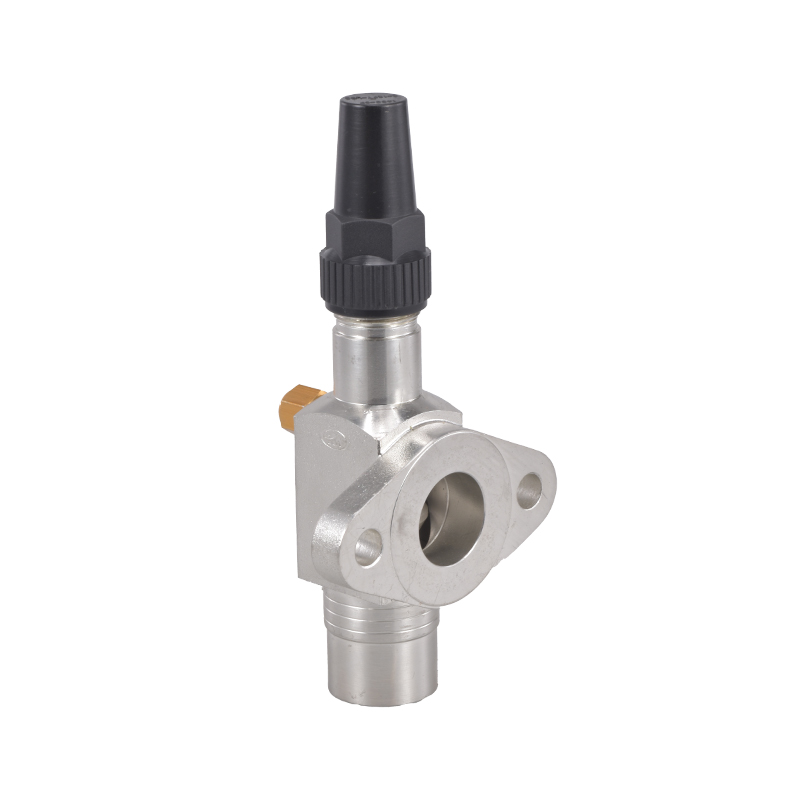
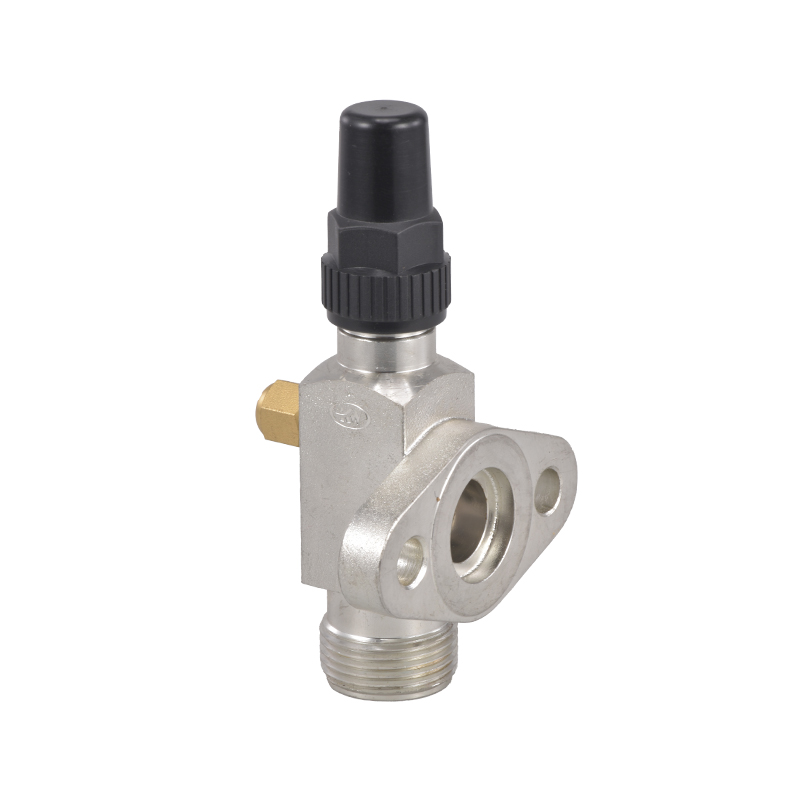
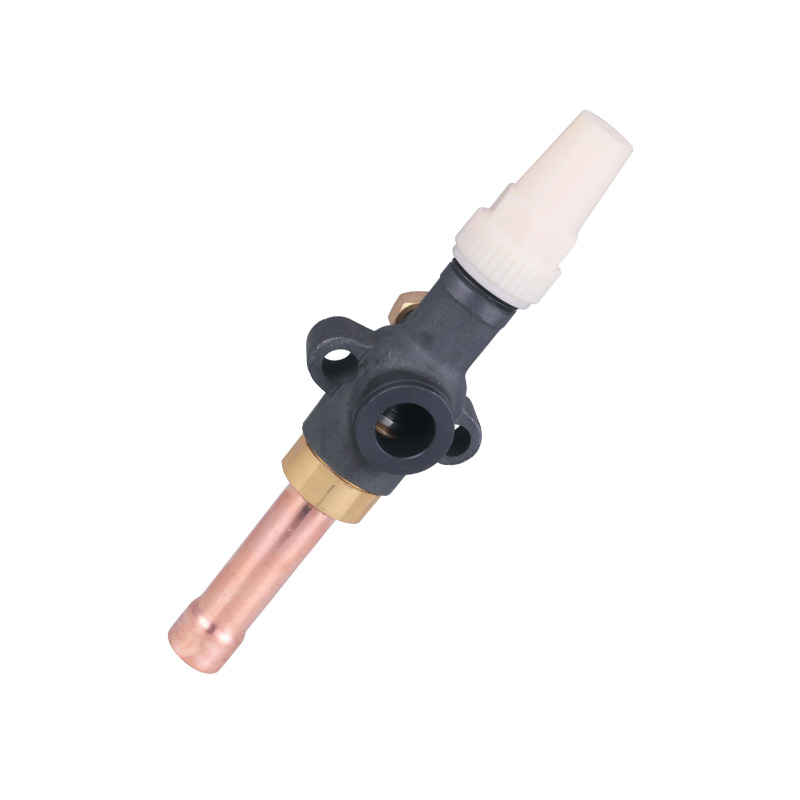
The fridge compressor valve, also known as the refrigeration compressor valve or refrigerator compressor service valve, is a vital part of your refrigerator's cooling system. It controls the flow of refrigerant between the compressor and the evaporator, allowing the refrigerant to circulate and absorb heat from the interior of the fridge. When this valve becomes clogged, damaged, or worn out, it can disrupt the refrigeration cycle, causing poor cooling performance and even compressor failure.
Preparing for the Replacement
Before you begin the replacement process, it is essential to gather the necessary tools and materials. You will need:
- A new fridge compressor valve (ensure it is compatible with your refrigerator model)
- A wrench set
- A refrigerant recovery machine (if you plan to remove the refrigerant yourself)
- A vacuum pump
- A leak detector
- Protective gloves and safety glasses
Safety is paramount when working with refrigerants, as they can be harmful to the environment and your health. If you are not confident in your ability to handle refrigerants safely, it is highly recommended to call a professional technician.
Step-by-Step Replacement Process
1. Disconnect the Power Supply: Before you start working on your refrigerator, ensure that it is unplugged from the power source. This will prevent any electrical accidents and ensure your safety during the replacement process.
2. Access the Compressor Area: Locate the compressor at the back of your refrigerator. It is usually housed in a compartment or covered by a protective panel. Carefully remove any panels or covers to access the compressor and the fridge compressor valve.
3. Identify the Refrigerator Compressor Service Valve: The fridge compressor valve is typically connected to the compressor and the refrigerant lines. It may be labeled as the "service valve" or "compressor valve." Take note of its position and the connections it has with the refrigerant lines.
4. Refrigerant Recovery: Before removing the old valve, you must safely recover the refrigerant. This is a crucial step, as refrigerants are harmful to the environment and must be handled according to local regulations. If you do not have access to a refrigerant recovery machine, it is to call a professional technician to handle this step.
5. Remove the Old Fridge Compressor Valve: Once the refrigerant has been safely recovered, use a wrench to carefully loosen and remove the old fridge compressor valve. Be cautious not to apply excessive force, as this can damage the compressor or the refrigerant lines. If the valve is difficult to remove, you may need to use penetrating oil to help loosen it.
6. Inspect for Damage: After removing the old valve, the inspect area for any signs of damage or wear. Check the refrigerant lines and the compressor for any leaks or corrosion. If you notice any issues, it may be necessary to address them before installing the new valve.
7. Install the New Fridge Compressor Valve: Carefully thread the new fridge compressor valve into place. Ensure that it is properly aligned and tightened securely. Use a wrench to apply the appropriate amount of torque, as specified by the manufacturer. Over-tightening can cause damage to the valve or the compressor, so it is important to follow the guidelines closely.
8. Vacuum the System: After installing the new valve, use a vacuum pump to remove any air from the refrigeration system. This step is crucial to ensure that there are no air bubbles in the refrigerant lines, which can affect the efficiency of the cooling system.
9. Recharge the Refrigerant: Once the system has been properly vacuumed, you can recharge the refrigerant. This should be done according to the manufacturer's specifications and using the correct type of refrigerant for your refrigerator. If you are not experienced with refrigerant handling, it is highly recommended to seek professional assistance.
10.Test for Leaks: After recharging the refrigerant, use a leak detector to check for any leaks around the new fridge compressor valve and the refrigerant lines. If you detect any leaks, address them immediately to prevent refrigerant loss and potential damage to the environment.
11.Reassemble and Test: Once you have confirmed that there are no leaks, reassemble the compressor compartment by replacing any panels or covers you removed earlier. Plug in the refrigerator and allow it to run for a few hours to ensure that the new fridge compressor valve is functioning correctly. Monitor the temperature inside the refrigerator to ensure that it is cooling properly.
Replacing a fridge compressor valve can seem like a daunting task, but with careful planning and attention to detail, it can be done without causing any damage to your refrigerator.